So, you just noticed your refrigerator playing a funky tune, and it’s not the cool vibe you expected. We get it – a malfunctioning refrigerator is like a party pooper in the kitchen. But fear not, because in this guide, we’re diving deep into the art of troubleshooting and repairing your chilly companion.
Ever wondered why your fridge is the unsung hero of your kitchen? Imagine a world where it decides to take a vacation, leaving your veggies wilted and milk turning into a science experiment. That’s a no-go! A fully operational refrigerator is the backbone of freshness, keeping your food safe, and your taste buds happy.
How do you know your fridge is on the fritz? Well, it’s not rocket science, but it’s close. Look out for warning signals like your ice cream turning into soup or your veggies embracing wilting as a new lifestyle. Strange noises? Water puddles? Your fridge is trying to tell you something – it needs some TLC, and it needs it fast.
Now, you might be wondering, where do I even begin? Fear not, fellow Brooklynite! We’re about to embark on a troubleshooting journey that will have your fridge singing a sweet symphony once again. From power plays to temperature tantrums, we’ll tackle it all.
So, grab your toolkit, put on your DIY cape, and let’s unravel the mysteries behind a malfunctioning refrigerator in the heart of Brooklyn, New York! Ready? Let’s do this!
Safety Precautions
Before we dive into the refrigerator diagnostics, let’s talk safety. We don’t want any shocks, literal or metaphorical, so follow these precautions:
Disconnecting Power Supply
| Steps | Details |
| Unplug the fridge from the power outlet | Ensure safety by cutting the power supply. |
| Confirm the power cord is in good condition | No frays or exposed wires for a shock-free experience. |
| Check the circuit breaker | Ensure it’s not tripped – a simple switch might do magic. |
Handling Refrigerants
Refrigerants are the unsung heroes of chillness, but they can be tricky. Here’s how to handle them with care:
- Keep it Cool: If dealing with refrigerant leaks, ensure proper ventilation.
- No DIY Recharge: Refrigerant recharging is a job for the pros – don’t attempt it yourself.
- Safety Gear On: Protective gloves and eyewear – your go-to superhero costume.
Using Proper Tools and Equipment
Equip yourself with the right tools – it’s like having the right dance partner. Here’s your checklist:
- Multimeter: A trusty sidekick for electrical troubleshooting.
- Screwdriver Set: Unscrew mysteries with ease.
- Flashlight: Shed light on the darkest corners of your fridge.
Remember, a cautious approach sets the stage for a successful refrigerator revival. Now, let’s get those hands dirty (figuratively) and unravel the fridge mysteries!
Initial Assessment
Before we start unscrewing things, let’s conduct a preliminary investigation to pinpoint the issue. Our refrigerator is like a puzzle, and we’re here to solve it!
Checking for Power Supply Issues
| Steps | Details |
| Verify power outlet | Ensure the outlet is live – no power, no chill. |
| Test the power cord | A frayed cord is a safety hazard – swap it if needed. |
| Inspect the circuit breaker | If it’s tripped, reset it. Sometimes, the simplest fixes are the best. |
Temperature Assessment
Is your fridge throwing a temperature tantrum? Let’s rein it in:
- Check Temperature Settings: Are you keeping it too cool or too warm? The Goldilocks rule applies here – just right.
- Use a Thermometer: Get a thermometer inside – knowledge is power, or in this case, chillness.
Common Signs of Trouble:
- Fluctuating Temperatures: Are you experiencing wild temperature swings? It could be a thermostat rebellion.
- Frosty or Warm Spots: Uneven cooling is a red flag. Investigate the cause – it might be a lurking culprit.
Now that we’ve laid the groundwork, let’s delve into the specifics. Is it a power play or a temperature tiff? Time to find out, detective!
Common Refrigerator Problems and Troubleshooting

Ever opened your fridge and felt a blast of warm air? Or maybe it’s leaking water like it’s auditioning for a plumbing gig. Don’t panic! We’ve got a troubleshooting roadmap that’ll have your fridge back to being the cool cat of the kitchen.
Inadequate Cooling
- Condenser Coils Conundrum
What to Do:
- Locate the condenser coils (usually at the back).
- If dusty, vacuum or brush them clean.
- Improved airflow equals better cooling.
- Evaporator Fan’s Performance Review
What to Do:
- Check if the fan is spinning freely.
- A malfunctioning fan may need a replacement.
- No spin? It’s time for a new fan dance.
- Thermostat Tango
What to Do:
- Test the thermostat settings.
- If it’s unresponsive, consider a thermostat replacement.
- A thermostat that parties too hard needs to be shown the exit.
Water Leaks
- Defrost Drain Dilemma
What to Do:
- Locate the defrost drain and clear any clogs.
- A clean drain keeps water where it belongs – out of your kitchen.
- Water Inlet Valve Vexation
What to Do:
- Test the water inlet valve for proper functioning.
- If it’s faulty, a replacement is on the horizon.
- A leaky valve is like a faucet with a mind of its own.
Unusual Noises
- Identify the Noise Source
What to Do:
- Pinpoint the source – is it the compressor, fan, or something else?
- Noises are signals; decoding them leads to the root cause.
- Silence the ruckus by fixing the culprit.
- Motor Lubrication Affair
What to Do:
- Inspect and lubricate condenser and evaporator fan motors.
- Well-lubricated motors hum a sweet melody of efficiency.
- If it squeaks, it needs grease!
Frost Buildup
- Gasket Gaps and Grievances
What to Do:
- Check the door gaskets for gaps or tears.
- Replace faulty gaskets to maintain a frost-free environment.
- A snug seal keeps the cold in and the warm out.
- Defrost Heater and Thermostat Inspection
What to Do:
- Evaluate the defrost heater and thermostat for functionality.
- Replace any malfunctioning components.
- A well-behaved defrost system prevents icy surprises.
As you troubleshoot these issues, remember, patience is your ally. Each problem cracked is a step closer to your fridge’s triumphant return to chill mode!
Advanced Troubleshooting Techniques
So, you’ve conquered the basics, but the fridge saga continues? Fear not, for we’re about to delve into the realm of advanced troubleshooting. It’s like leveling up in the world of refrigerator repair – let the quest begin!
Using a Multimeter for Electrical Sleuthing
Why Multimeter?
- It’s the Sherlock Holmes of electrical issues.
- Detects voltage irregularities like a pro.
- Pinpoints the misbehaving components.
How to Use:
- Set it to voltage mode.
- Test outlets, fuses, and electrical components.
- Anomalies detected? Time to replace the culprit.
Inspecting and Replacing the Compressor
Compressor Woes:
- The heart of your fridge – it pumps the coolness.
- If it’s on strike, your fridge is on vacation.
Diagnosis and Replacement:
- Listen for clicking sounds – a sign of a failing compressor.
- If found guilty, replacing it is the cure.
- A new compressor, and your fridge is back in business.
Checking the Start Relay and Capacitor
Startup Superstars:
- Start relay and capacitor kickstart the compressor.
- Malfunctions lead to a silent fridge or erratic cooling.
Testing and Replacing:
- Use a multimeter to test their continuity.
- If the readings are wonky, replacements are in order.
- Smooth startups ahead!
Assessing the Control Board
Mastermind of Operations:
- Control board orchestrates the entire cooling symphony.
- Malfunctions can disrupt the cool harmony.
Evaluation and Replacement:
- Inspect for burnt or damaged areas.
- If found, a replacement control board is the fix.
- Your fridge, the maestro, resumes its cool performance.
Remember, these advanced techniques require a keen eye and a bit of DIY bravery. If you’re not feeling up to the challenge, it might be time to call in the fridge cavalry – the professionals! Stay cool and carry on, Fridge Fixer!
Repair Procedures
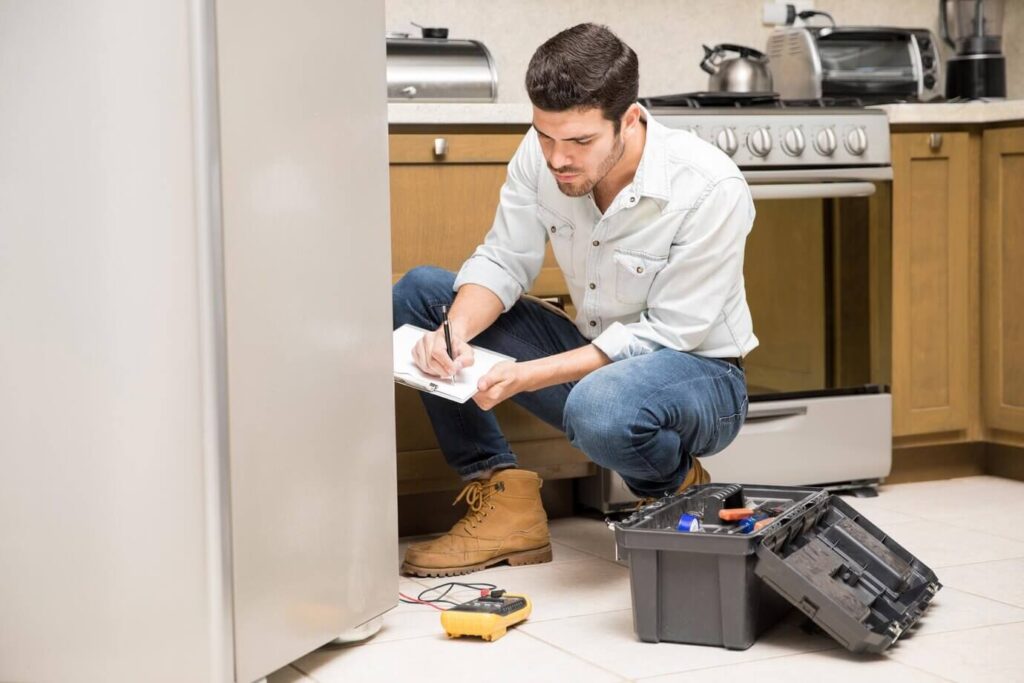
You’ve diagnosed the issues, identified the miscreants, and now it’s showtime! Get ready to put on your DIY cape and dive into the repair procedures that will resurrect your refrigerator from its chilly slump.
Replacing Faulty Components
- Compressor Replacement Extravaganza
Signs of a Compressor Conundrum:
- Warm fridge, clicking sounds – it’s the compressor.
- No need to mourn; replacements are available.
DIY Steps:
- Unplug the fridge and disconnect the old compressor.
- Install the new compressor following manufacturer instructions.
- Secure connections, plug it in, and voila – a revived fridge!
- Thermostat Swapping Soiree
When the Thermostat Throws a Tantrum:
- Temperature inconsistencies? Blame it on the thermostat.
- Time for a new one to bring back order.
DIY Steps:
- Disconnect power and locate the thermostat.
- Remove the old thermostat, noting wire placements.
- Install the new thermostat, reconnect wires, and power up.
- Your fridge is back to being the temperature maestro.
- Evaporator Fan Motor Replacement Rendezvous
When the Fan Fails to Dance:
- A stagnant fan means uneven cooling – time for a replacement.
- Your fridge deserves a fan that can keep the cool rhythm.
DIY Steps:
- Unplug the fridge and access the evaporator fan.
- Remove the old motor, often secured by screws.
- Install the new motor, secure it, and power up.
- Your fridge’s fan is back in action, circulating chill vibes.
Sealing Leaks and Repairing Damaged Parts
- Fixing Water Leaks Fiesta
Locate the Leak Source:
- A puddle beneath your fridge? Time to play detective.
- A leaking fridge can ruin floors – fix it ASAP.
DIY Steps:
- Identify the source – defrost drain or water inlet valve.
- Clear any clogs in the defrost drain.
- Replace a faulty water inlet valve if needed.
- Bid farewell to leaks and hello to a dry kitchen.
- Repairing Damaged Door Gaskets
Gaps and Tears Drama:
- Faulty gaskets allow warm air in, inviting frost and energy waste.
- A quick fix for a snug fit.
DIY Steps:
- Assess gaskets for gaps or tears.
- Remove old gaskets and clean the area.
- Install the new gaskets, ensuring a tight seal.
- Your fridge is now well-insulated against warmth invasion.
Remember, each repair is a victory lap toward a fully operational fridge. Don’t be shy – grab those tools and let the repair party begin!
Preventive Maintenance Tips
You’ve conquered the troubleshooting, aced the repairs, and now it’s time to ensure your fridge remains the kingpin of coolness. Enter the realm of preventive maintenance – the unsung hero of appliance longevity. Let’s dish out some tips to keep your fridge in tip-top shape.
Regular Cleaning of Condenser Coils
The Dust Bunnies’ Nemesis:
- Dusty coils hamper heat dissipation – clean them regularly.
- Vacuum or brush gently to maintain optimal cooling efficiency.
Checking and Replacing Air Filters
Breathe Easy, Fridge:
- Air filters trap particles and keep the fridge fresh.
- Replace or clean them periodically for optimal performance.
Monitoring and Adjusting Temperature Settings
Goldilocks Rule Redux:
- Check and adjust temperature settings as seasons change.
- Keep it not too cold, not too warm – just right for freshness.
Periodic Inspection of Door Gaskets
Snug Fit for Efficiency:
- Regularly inspect door gaskets for gaps or wear.
- Replace worn-out gaskets to maintain a tight seal.
Final Words
Congratulations, Fridge Maestro! You’ve now mastered the art of troubleshooting, repair, and preventive maintenance. Your fridge is no longer a mystery; it’s a cool companion that’ll stand the test of time.
Remember, these maintenance tips aren’t chores – they’re investments in the longevity of your fridge. So, grab that duster, set those temperature knobs right, and keep the cool vibes flowing.
In the world of refrigerators, you’re not just a fixer; you’re a guardian of freshness. Stay cool and keep those fridges humming!
Frequently Asked Questions (FAQ)
Q1: Why is my refrigerator not cooling properly?
A: Inadequate cooling can result from dirty condenser coils, a malfunctioning thermostat, or issues with the evaporator fan. Refer to the troubleshooting section for detailed steps.
Q2: How do I fix water leaks in my refrigerator?
A: Water leaks often stem from a clogged defrost drain or a faulty water inlet valve. Follow the troubleshooting guide to locate the issue and implement the necessary repairs.
Q3: What should I do if my refrigerator is making strange noises?
A: Unusual noises may be due to a malfunctioning compressor, condenser fan, or evaporator fan motor. Consult the troubleshooting section to identify the source and take appropriate action.
Q4: Can I replace a refrigerator compressor myself?
A: While it’s possible, compressor replacement involves handling refrigerants and may require professional expertise. If you’re not experienced, consider consulting a technician to ensure a safe and effective replacement.
Q5: How often should I clean the condenser coils?
A: Regularly clean the condenser coils at least twice a year. Dust and debris accumulation can hinder their efficiency, affecting the overall cooling performance of your refrigerator.
Q6: Why is preventive maintenance important for my fridge?
A: Preventive maintenance helps prolong the lifespan of your refrigerator, enhances energy efficiency, and prevents potential issues. Regular cleaning, air filter replacement, and temperature adjustments contribute to optimal performance.
Q7: When should I replace door gaskets?
A: If you notice gaps or tears in the door gaskets, it’s time for a replacement. Damaged gaskets compromise the seal, leading to temperature fluctuations and increased energy consumption.
Q8: Can I use a multimeter to troubleshoot electrical issues in my fridge?
A: Yes, a multimeter is a valuable tool for checking electrical components. Follow safety precautions, set the multimeter to voltage mode, and test outlets, fuses, and relevant fridge components as outlined in the troubleshooting section.
Remember, if you encounter difficulties or if safety concerns arise during troubleshooting and repair, seeking professional assistance is always a prudent choice.


