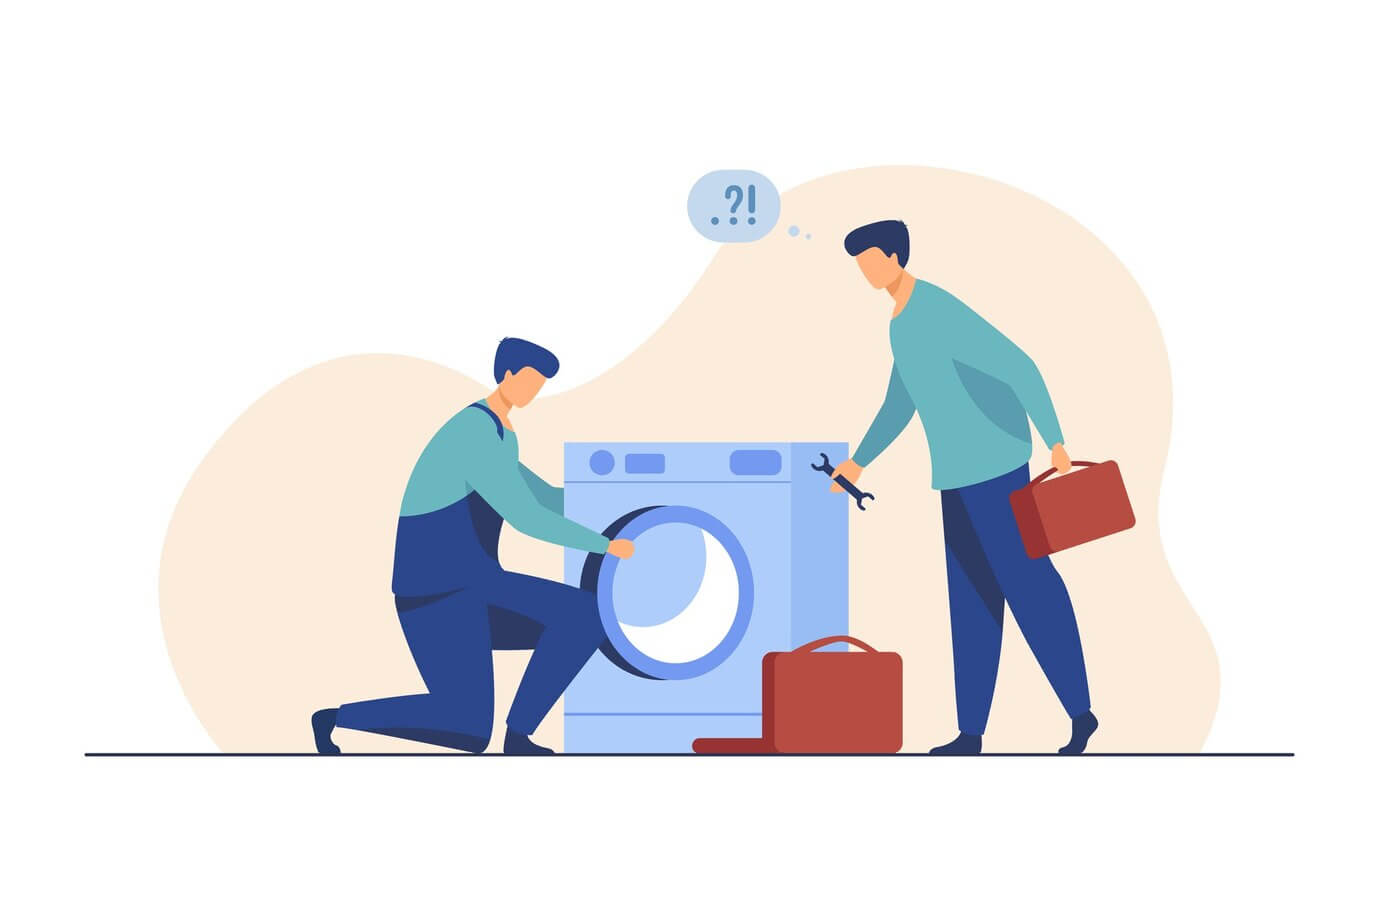
So, you’ve got yourself a top-loading washer, huh? Nice move – those things are the unsung heroes of laundry day. But let’s be real, even the mightiest warriors face their share of battles, and your washer is no exception. From mysterious leaks to rebellious agitators, these machines sometimes throw a curveball our way.
You might be wondering, “Why should I even care about my washer’s well-being?” Well, my friend, imagine this: it’s a hectic Monday morning, and you toss a load of laundry into your trusty top-loader, expecting a clean victory. Instead, you’re met with a strange silence, and your clothes are left to wallow in soapy despair. That’s right – a malfunctioning washer can turn your laundry haven into a laundry headache.
Now, let’s talk about the real villains here – the common issues that can turn your laundry routine into a sob story. Agitators refusing to dance, water leaks playing hide-and-seek, and your washer vibrating like it’s auditioning for a dance-off – it’s like your machine has a mind of its own.
In the bustling cityscape of Brooklyn, New York, time is a precious commodity. You can’t afford to let a grumpy washer disrupt your laundry groove. That’s why we’re diving into the world of DIY fixes – because sometimes, you gotta roll up your sleeves and show that washer who’s boss.
Safety Precautions
Alright, champ, before we jump into the ring with that mischievous washer, let’s talk safety. No one wants a shocking surprise – and I’m not talking about the plot twist in your favorite TV show.
Unplug and Suit Up
| Step | Action |
| 1 | Unplug the Machine |
| 2 | Gear Up (Gloves and Glasses) |
We’re not dealing with a plug-and-play situation here, so grab that plug and yank it out. Safety glasses and gloves? Non-negotiable. You wouldn’t face a dragon without armor, would you?
Manual Wisdom
| Step | Action |
| 1 | Refer to the Manual |
| 2 | Understand Safety Guidelines |
Your machine’s manual is the sacred text of this DIY religion. It holds the commandments, and you better believe you need to follow them. Flip through those pages and soak in the wisdom – especially the safety guidelines. They’re not just there for decoration.
Now that we’ve armored up and consulted the manual, let’s dive into the battleground – your laundry room.
Common Issues and Troubleshooting Steps
Brace yourself, because here come the usual suspects – the problems that turn your washing haven into a laundry nightmare. We’re talking agitators refusing to agitate, leaks that think they’re stealthy, and vibrations that could wake the neighbors.
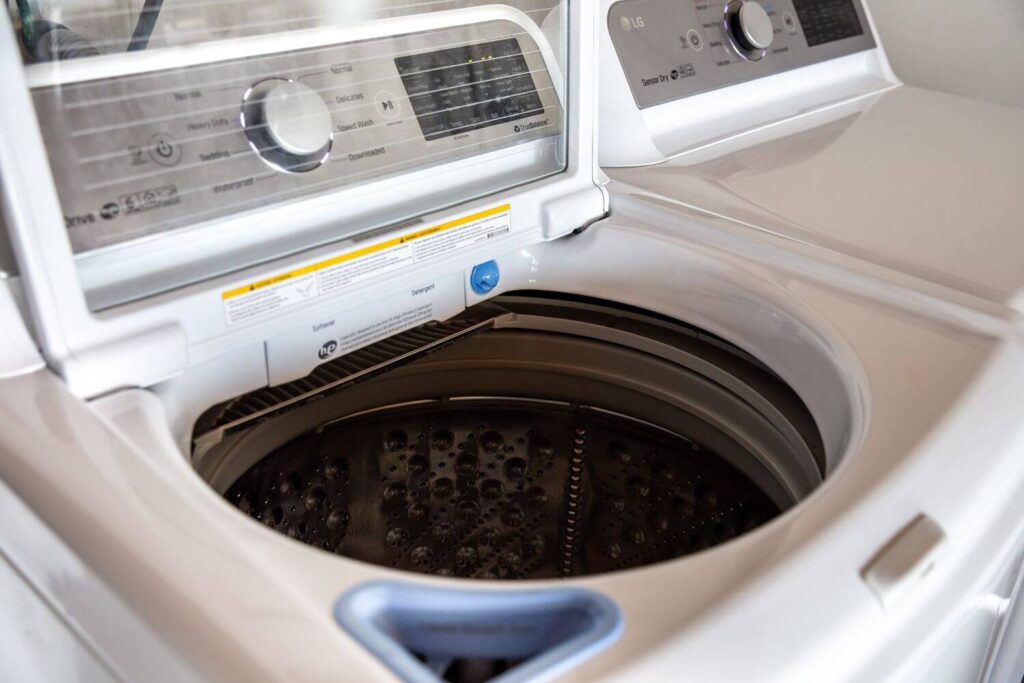
Agitator Standoff
- Check for a Broken or Loose Agitator:
- Pop off the agitator cap and inspect that bad boy.
- If it’s loose or looks like it survived a wrestling match, tighten it up or replace it.
- Inspect the Agitator Dogs:
- Dogs in the agitator? Not literally. These are cogs that help the agitator do its thing.
- If they’re worn out, it’s time for some new “dogs” in town.
- Agitator Spline Inspection:
- Spline, huh? That’s the groove where the agitator slides in.
- If it’s worn or damaged, it’s like the red carpet for issues. Replace if needed.
Leak Detection Mission
- Examine the Hoses:
- Hoses are the veins of your washer. Cracks or leaks? That’s a problem.
- Turn off the water supply, inspect hoses, and replace the culprits.
- Pump and Water Inlet Valve Check:
- Your washer has a pump and a water inlet valve. Check ’em for defects.
- A leaky valve or a pump on strike needs your attention.
- Connections Tight and Right:
- Loose connections are like loose lips – they sink ships. Tighten ’em up or swap ’em out.
Vibration Nation
- Leveling the Washer:
- A wobbly washer is like a shaky rollercoaster – not fun. Use a bubble level to check the balance.
- Adjust those feet until your washer stands tall and proud.
- Feet Adjustment for Even Weight Distribution:
- Uneven weight distribution? That’s a one-way ticket to Vibrationville.
- Adjust the feet until your washer distributes the load like a pro.
- Suspension Rod Inspection:
- Your washer’s got suspension rods – they’re not just for show.
- Worn or damaged rods? Swap ’em out for smoother spins.
Noise, Noise, Noise
- Inspect the Belt:
- Belts can make your washer sound like a rock concert gone wrong.
- Check for wear and tear. If it’s looking ragged, time for a new one.
- Foreign Object Hunt:
- Odd noises? Could be a sock rebellion inside.
- Check the drum and pump for foreign objects – evict those rebels!
- Lubricate or Replace Bearings:
- Noisy bearings? They need some TLC.
- Lubricate or replace them, and your washer will thank you with a smooth hum.
Draining Dilemmas
- Clear the Drain Pump:
- A clogged drain pump is like a traffic jam in your washer’s plumbing.
- Clear out the debris and let that water flow.
- Lid Switch Inspection:
- Lid switch on the fritz? Your washer won’t drain or spin.
- Ensure it’s functioning correctly, and if not, it’s swap-out time.
- Check the Drain Hose:
- A clogged or kinked drain hose is a surefire way to a waterlogged disaster.
- Straighten it out or replace it for a smooth drain.
Phew! That’s a lot to take in, but we’ve armed you with the knowledge to face those washer troubles head-on. Ready to roll up your sleeves and get your hands dirty? The DIY revolution starts now!
Tools and Materials
Now that we’ve sized up the adversaries and crafted our battle plan, it’s time to assemble the arsenal. We’re not sending you into this DIY duel empty-handed – gather your tools and materials, and let’s get ready to rumble.
Basic Toolkit – Your DIY Sidekick:
- Screwdrivers: The unsung heroes of any toolkit. Phillips and flathead – have them both.
- Pliers: For that extra grip when things get slippery.
- Wrenches: To tighten those loose nuts and bolts. A set with different sizes is your best friend.
Replacement Parts – The Calvary:
- Belts: A worn-out belt is like a tired marathon runner. Replace it for a smoother spin.
- Agitator Dogs: These small cogs can make a big difference. If they’re worn, new ones are in order.
- Drain Pump: The heart of your washer’s plumbing. If it’s on strike, swap it out.
- Suspension Rods: Keep your washer balanced and in harmony. Worn or damaged? Time for a replacement.
Cleaning Supplies – A Fresh Start:
- Vinegar: The natural cleaner that battles hard water deposits and limescale.
- Baking Soda: Your deodorizing companion. Say goodbye to funky odors.
- Cloth: A good, old-fashioned cloth for wiping away the remnants of battle.
Lubricants and Greases – The Soothing Elixirs:
- Lubricating Oil: Keep those moving parts smooth and silent.
- Grease: For bearings and gears that need a little extra love.
Armed with these tools and materials, you’re not just fixing a washer – you’re leading a repair revolution. Now, let’s dive into the nitty-gritty of DIY fixes, one step at a time.
Step-by-Step DIY Fixes
It’s showtime! Time to roll up those sleeves, grab your toolkit, and embark on the journey to washer redemption. We’ll break down the fixes for common issues, guiding you through the process like a trusty map.
Agitator Repair
- Remove the Agitator Cap and Bolt: Pop off that cap and unleash the bolt. The agitator’s about to make its grand exit.
- Lift the Agitator Out and Inspect: The agitator’s out – time for a close-up inspection. Check for cracks, dents, or signs of rebellion.
- Replace Agitator Dogs or the Entire Agitator:
- If the agitator dogs look like they’ve been through a war, swap them out.
- For major agitator mayhem, consider replacing the entire agitator for a fresh start.
Hose and Connection Checks
- Turn Off Water Supply and Disconnect Hoses: No one likes a waterlogged battlefield. Shut off the water supply and disconnect those hoses.
- Inspect Hoses for Cracks or Leaks: Give those hoses a once-over. Cracks or leaks are the enemy – replace any compromised hoses.
- Tighten or Replace Connections as Needed: Loose connections are like traitors in your camp. Tighten them up or replace the culprits.
Leveling the Washer
- Use a Bubble Level to Check for Evenness: No one wants a washer that wobbles like a tipsy friend. Whip out that bubble level and check for balance.
- Adjust the Feet for Balance: Those feet have a job – make sure they’re carrying the load evenly. Adjust until your washer stands tall.
- Test the Washer for Stability: The ultimate test – a spin cycle. If your washer dances like nobody’s watching, you’ve nailed it.
Lubricating Moving Parts
- Identify Components That Require Lubrication: Your washer has joints that need a little love. Identify them – bearings, gears, anything that moves.
- Apply Recommended Lubricant: No random oils here. Use the lubricant recommended in your manual. Smooth moves ahead.
- Test the Washer for Smoother Operation: Give that power button a push and listen. If your washer hums in harmony, you’re in business.
These step-by-step fixes are your roadmap to victory. Follow them closely, and your washer will thank you with a symphony of smooth spins and quiet cycles. But hold up, we’re not done yet – let’s talk about prevention, because an ounce of prevention is worth a pound of cure.
Prevention Tips
Congratulations, you’ve conquered the DIY battlefield and emerged victorious! But the war against washer troubles is ongoing. Now, let’s talk about how to keep those pesky issues at bay – because who wants to be caught off guard by a misbehaving machine?
Regular Cleaning and Maintenance – The Frontline Defense
- Clean the Drum Regularly: Drumroll, please! Wipe down the drum with a mixture of vinegar and water to combat buildup and funky odors.
- Check and Clean the Lint Filter: A clogged lint filter is like a traffic jam on the information highway. Clean it regularly for efficient drainage.
- Inspect Hoses for Wear and Tear: Hoses are the unsung heroes of water transport. Keep an eye out for cracks or bulges – replace if needed.
- Run an Empty Cycle with Vinegar: Let your washer take a vinegar bath. Run an empty cycle with vinegar to clean out any lingering grime.
Avoid Overloading – Don’t Break Your Washer’s Back
- Follow Load Capacity Guidelines: Your washer isn’t Hercules. Respect the load capacity to avoid straining its muscles.
- Distribute Clothes Evenly: Don’t let your clothes gang up on one side. Distribute them evenly for a balanced spin.
Use Appropriate Detergents and Additives – No Chemical Warfare
- Read the Manual for Recommended Products: Your manual isn’t just for show. Follow its guidance on the right detergents and additives.
- Use the Right Amount of Detergent: More isn’t always better. Use the recommended amount of detergent to avoid residue buildup.
- Avoid Harsh Chemicals: Your washer is sensitive. Harsh chemicals can harm it – opt for gentler alternatives.
Promptly Address Minor Issues – Squash Them Early
- Fix Leaks and Drips ASAP: Leaks are like whispers that turn into shouts. Fix them before they become a flood.
- Address Strange Noises Immediately: Noises aren’t your washer’s way of serenading you. Investigate and address them promptly.
- Regularly Inspect Moving Parts: A little checkup goes a long way. Regularly inspect moving parts for signs of wear and tear.
Final Words
There you have it – the ultimate guide to DIY fixes and prevention for your top-loading washer. You’ve equipped yourself with the tools, knowledge, and preventive measures to keep that machine humming happily. Remember, a well-maintained washer is the unsung hero of a smooth laundry routine. So go ahead, conquer the laundry world, one spin at a time!
Frequently Asked Questions (FAQ)
Q1: How often should I clean my top-loading washer?
A: Regular cleaning is crucial to keep your washer in top-notch condition. Aim for a monthly cleaning routine, including wiping down the drum, cleaning the lint filter, and running an empty cycle with vinegar.
Q2: Can I use any detergent in my top-loading washer?
A: It’s best to follow the manufacturer’s recommendations outlined in the manual. Using the wrong detergent or excessive amounts can lead to residue buildup and affect your washer’s performance.
Q3: What should I do if my washer is still leaking after fixing hoses and connections?
A: If leaks persist, check the water inlet valve and the pump for defects. If the issue persists, it’s advisable to seek professional help to avoid further damage.
Q4: Why is my washer making loud noises during the spin cycle?
A: Loud noises could indicate a worn-out belt, foreign objects in the drum, or noisy bearings. Inspect these components, lubricate or replace as needed, and the symphony of silence should return.
Q5: Can I replace the agitator dogs on my own?
A: Absolutely! Replacing agitator dogs is a manageable DIY task. Follow the steps outlined in the DIY Fixes section, and your agitator will be back to its dancing days in no time.
Q6: How do I know if my washer’s suspension rods are worn?
A: If your washer vibrates excessively during the spin cycle or appears unbalanced, it’s a sign that the suspension rods may be worn. Inspect them visually for any visible damage and replace if necessary.
Q7: Is it normal for my washer to vibrate a little?
A: A slight vibration is normal, but excessive or violent shaking is not. Use a bubble level to ensure your washer is leveled, adjust the feet for balance, and inspect the suspension rods to minimize vibrations.
Q8: Why is my washer not draining or spinning?
A: Check for a clogged drain pump, inspect the lid switch for proper functionality, and ensure the drain hose is not kinked or blocked. If issues persist, professional assistance may be required.
Q9: Can I use any lubricant for the moving parts?
A: No, it’s essential to use the lubricant recommended in your washer’s manual. Using the wrong type of lubricant may damage the components. Always follow the manufacturer’s guidelines.
Q10: How can I prevent my washer from developing foul odors?
A: Regular cleaning is key. Wipe down the drum, clean the lint filter, and run an empty cycle with vinegar to combat odors. Additionally, leave the washer door open between cycles to allow proper ventilation.